
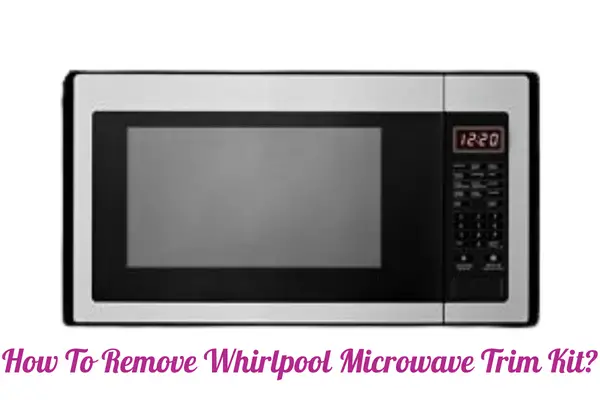
Installing a built-in whirlpool microwave comes with many benefits, including saving counter space. That aesthetic look you have always admired in modern kitchens soon becomes a reality.
Whirlpool microwave mounting process is not complicated as the unit comes with instructions. With a drill, measuring tape, pencil, screwdriver, and drill bit, you will mount your Whirlpool microwave and fix its trim kit comfortably.
The trim kit dresses the unit and matches the kitchen design, including colors and the available fixtures. Your appliance vents properly and stay cool while operating in a confined cabinet space with the equipment.
What if you need a regular maintenance procedure? How will you go about removing a whirlpool microwave trim kit to access the appliance? You may also require to upgrade to a newer model.
Microwave trim kit manufacturers rarely include the unmounting processes. That’s why we have this guide; to show you how to remove the Whirlpool microwave trim kit!
Steps: How To Remove Whirlpool Microwave Trim Kit
Your Whirlpool microwave dimensions are either 27″ (68.6 cm) trim kit or *30″ (76.2 cm) trim kit, and the parts include;
- Trim kit
- Bottom duct
- Side duct
- Upper duct
- Template
- Bottom bracket
- Anti-tip bracket
- Screws
Ensure you securely keep the above parts as you need them later for reinstallation during each step. Losing a single piece of the trim kit will mean ordering a new trim kit, which is costly and inconvenient.
Things you will require
- Screwdriver
- hand drill
- Or Penknife
Buy The Requirement Instruments


Method
1. Safety first! Switch off your house’s power supply at the junction box.
2. If your designer didn’t install a trim kit, you would slide out your Whirlpool microwave oven. But there’s a trim kit that you have to remove! Unplug your Whirlpool microwave from the socket if it is a direct connection; otherwise, you may have to open its junction box to unscrew off the wire links.
3. Push on the front of your whirlpool microwave to slide the oven far into its opening. That way, it is super easy for you to locate the screws.
The screws are at opening corners. Some Whirlpool microwaves have four screws on all sides, while others have two screws holding the frame together at the bottom and top.
4. Use your hand tool to unscrew out the appliance. The outside edges may have more screws and also under the template. Unscrew them out of the frame and place them in a bowl.
5. Look for any plugs on the outside frame and poke the rubber plugs out to reveal the screws. These are easy to remove with any of the tools at your disposal. Screw them out and place them in a bowl. After removing all the attachments, you will notice that the frame kit has become loose.
6. Use your knife to get beneath the trim kit and pry the frame once more. Insert your screwdriver to pop the gear out.
7. Once everything is all loose, pull off the oven from the cabinetry.
8. Check if any extra screws prevent the oven from coming out. Open them and remove the trim kit.
You can now go ahead and access your oven for maintenance, repairs, or replacement.
Related Articles:
- How To Remove GE Profile Microwave Trim Kit?
- How To Remove KitchenAid Microwave Trim Kit?
- How To Remove Thermador Microwave Trim Kit?
- How To Remove Bosch Microwave Trim Kit?
- How To Remove Microwave Trim Kit?
Conclusion
Even though the Whirlpool microwave trim kit manual doesn’t have removal instructions, it is easy to get out of the frame. With the above guide, you have all the steps to get hold of your oven’s interiors for repairs, replacement, or regular maintenance. If you find the procedure complicated, contact us for further recommendations.