
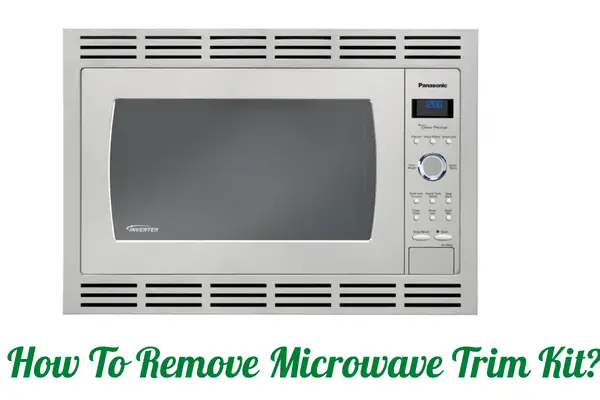
With many sophisticated microwave oven designs hitting the market, you will reach a point where you desire a replacement for your old built-in appliance.
When you decide to upgrade to a new appliance, that will force you to do a complete overhaul as the existing system may not fit your new oven. And even if it fits, you still have to remove the trim kit to get rid of an old or faulty oven.
The fact is, an in-built design is a process that requires guidance and know-how. Removing a built-in trim kit will not be as simple as unplugging a countertop microwave. It involves unscrewing and detaching some fixtures to bring the old equipment down.
Luckily, the procedure is short, and you can do it all by yourself.
Easy Steps!
The initial step would be to make sure you purchase a size as your old trim kit to avoid costly makeovers to your cabinetry. Use your old microwave box to get the correct dimensions. That would be a simple process.
But if you are replacing the oven with a larger design, you may have to get a qualified person to remove and redo the fittings.
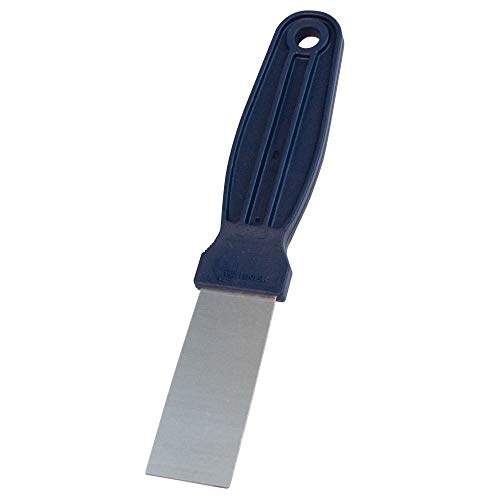
There are several requirements for removing a microwave trim kit;
- 1/2-inch chisel
- Screwdriver
- 1/4-inch plywood
- Diagonal pliers
- Putty knife
- Cordless gun
Buy The Requirement Equipment


Method One
This method will apply if the frame kit fixture is done with no screws.
Step 1:
Step 2:
Insert the chisel under the opening created by the knife in step one. The chisel creates a fulcrum.
Step 3:
Insert the plywood beneath the chisel and pry it down on the putty knife to pull off the frame on the first side.
Step 4:
Repeat steps 1, 2, and 3 for the remaining frame pieces. Once you pluck them out, you will pave the way for removing the microwave.
Step 5:
Remove the nails from the cabinets using diagonal pliers. Be careful as the nails could cut you when pulling.
Method Two
Here is an alternative method of how to remove microwave trim kit:
Step 1:
Inspect your microwave’s exterior edge at the bottom to find screws. They are right on the inside of the opening. Check if there are any under the frame’s lip or behind. There may also be some screws behind the small plugs on the corner of the frame from the outside.
Step 2:
Pluck the vinyl plugs out using the tip of the putty knife. That will expose the screws ready for you to remove.
Step 3:
Grab your cordless gun and remove all screws on the outside of the unit.
Step 4:
Use the screwdriver to raise the frame by inserting it behind the frame kit at the bottom. Pluck it out gently.
Step 5:
Insert your screwdriver at the top of the frame and pluck it out slightly. Loosen the kit and pull it off from the cabinet using your hands.
You May Also Like:
- Top 10 Best Countertop Microwave Trim Kit
- The 6 Best Microwave With Trim Kit
- How To Stop Microwave Oven Interference With WiFi?
Final Word
Removing a microwave trim kit is not complicated. We have outlined two methods that will guide you to remove the frame.
For each procedure, do it gently to not to bend or break your kit or damage your microwave. The frame kit may be single, two, or four pieces, but this depends on the model.
Other trim kits are custom made and do not come with screws but brads. Others are fixed using screws. Whichever the case, first inspect your trim kit so that you can follow the suitable method.