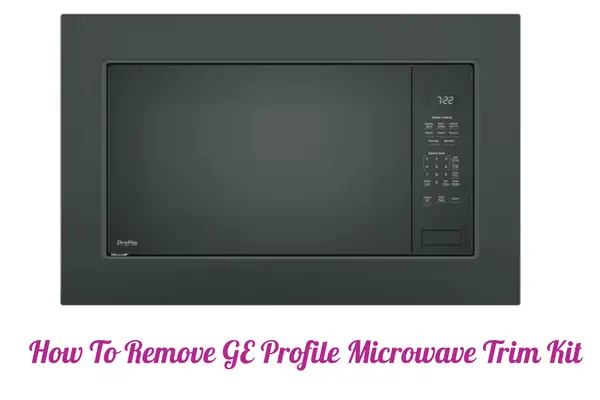
A built-in microwave can save you a lot of counter space. Most inbuilt installation involves mounting your appliance in a cabinet or under the counter.
Your designer uses a trim kit to add decor and an aesthetic look to the appliance.
A careful examination of your GE Profile Microwave reveals to you a custom trim kit that gives your appliance the most refined touch of class. Over time, you may want to inspect your microwave or even update to the latest release.
The first step to access your built-in GE Profile microwave will be to keenly remove its trim kit with extreme care not to scratch or break its parts when removing the trim kit.
How To Remove GE Profile Microwave Trim Kit
Things you will require
- Screwdriver/hand drill/Penknife
Buy The Requirement Equipment
Method
Step 1:
Switch off power from the main circuitry for safety purposes.
Step 2:
Unplug your GE Profile microwave from the power source. Some installations include a junction box; you will have to open and undo the connections.
Step 3:
Use your hands to push on the front of your microwave. That will slide the oven far into the opening for you to locate the screws. The trim kit fixture includes screws at every corner of the opening from the inside. Alternatively, you will find two screws holding the kit along a lip at the bottom and top.
Step 4:
Grab your hand drill, screwdriver, or penknife to unscrew the appliance. Go ahead and inspect the outside edge at the bottom for more screws on the interior opening.
Also, under the lip, you may find screws. Unscrew them out of the frame. Go ahead and check whether there are small plugs at the corners of the outside frame.
Step 5:
Poke the rubber plugs out to expose the screws. With the help of your hand drill, penknife, or screwdriver, get all the screws out and place them safely on a tray.
Step 6:
The trim kit is now loose; slide in your knife under the trim kit. Poke the frame again and shove in the screwdriver at the top to pop it out.
Step 7:
Your frame kit is already loose; use your hands to pull it off from the cabinet.
Step 8:
Look out for extra screws. If there are none, your GE Profile microwave is custom-made and comes with readily installed brads. Just place the tip of your knife at the bottom of the trim kit and pry out the frame gently. That will loosen the brads.
Shove the knife from left to right repeatedly until the frame piece pops off. You will end up with a frame with four pieces conjoined together. The pieces depend on the model; some are four others are two. Detach each piece and keep the parts and screws safely until the next installation.
Conclusion
There are many reasons you may want to remove your GE Profile microwave trim kit. One of them is regular maintenance such as changing a bulb or general cleaning.
You may also want to bring in a new oven if your old-fashioned one breaks or doesn’t have modern features. The gateway to access your microwave is by first removing the trim kit. And you have all the steps. Go ahead and remove the GE Profile microwave trim kit confidently and with no mishaps.
Related Articles
- 8 Reasons GE Microwave Not Heating Food But Runs?
- Ge Microwave Time Display Not Working (Quick fix!)
- Does Arcing Damage A Microwave?
- How To Clean Ge Cafe French Door Oven With Microwave?
- How To Remove GE Profile Microwave Trim Kit?
- Best Microwave With Trim Kit
- Best 30 Inch Built-In Microwave
- Best Countertop Microwave Trim Kit
- Best Small Countertop Microwave


