
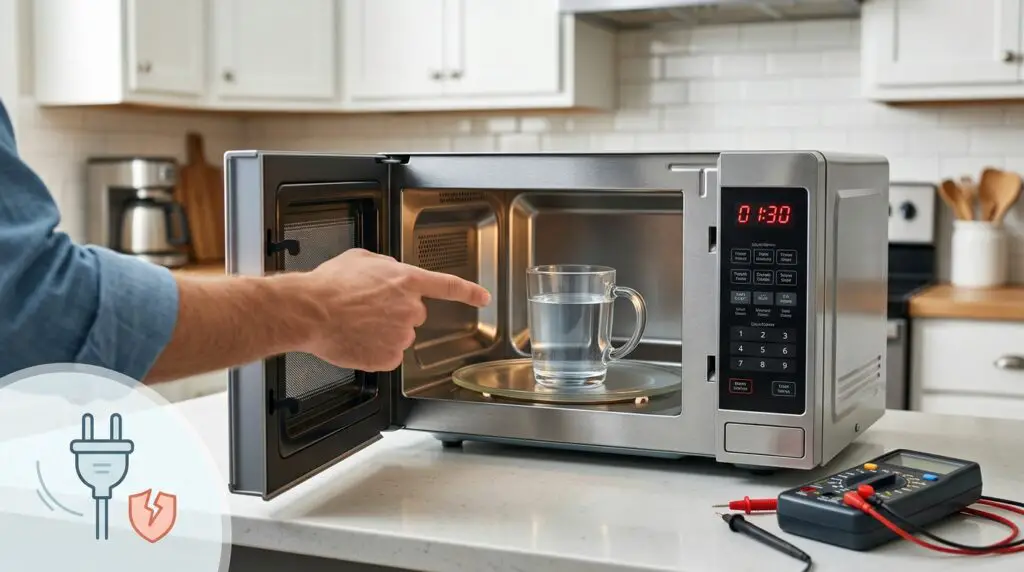
You pop a bowl of soup into the microwave, set the timer, and press Start. The display panel counts down, the interior light turns on, and the glass turntable spins right on schedule. But when the beep sounds and you open the door, your food is just as cold as when you put it in.
As a home appliance technician, I can tell you that this is one of the most common service calls we receive. Homeowners are often baffled because the appliance obviously has power, yet it completely fails at its core job: generating heat.
The good news? This specific failure pattern almost always points to a few distinct mechanical or high-voltage components. In this guide, we will break down exactly why your microwave has power but isn’t heating, how to safely diagnose the cause, and when to fix it versus replacing the unit entirely.
Safety First: The Golden Rule of Microwave Repair
Before attempting any troubleshooting, we must address appliance safety. Microwaves are fundamentally different from almost every other household appliance in your kitchen.
- Always Unplug First: Never attempt to inspect internal components or perform continuity tests while the unit is plugged into your 120V wall outlet.
- The High-Voltage Capacitor Danger: Even after being completely unplugged from power, a microwave’s internal High-Voltage Capacitor can store a lethal electric charge (up to thousands of volts) for hours—or even days. Touching internal wiring without properly discharging the capacitor poses a severe risk of electrical shock.
- Know Your Limits: Basic settings checks and visual latch inspections are perfectly safe for homeowners. However, component testing that requires opening the outer cabinet (such as testing the magnetron or discharging the capacitor) should be handled strictly by a certified technician or an experienced DIYer following strict safety protocols.
Phase 1: Simple Checks (No Tools Required)
Before assuming a major internal failure, rule out these common, non-hardware issues that mimic a broken heater.
1. Check for “Demo Mode” or “Display Lock”
It happens more often than you would think—especially during routine cleaning or if children were playing with the keypad. Many modern microwaves from brands like GE, Whirlpool, Samsung, and LG feature a Demo Mode (sometimes called Sales Mode). In this setting, the timer, lights, and fan run normally, but power to the heating elements is intentionally disabled.
- The Fix: Consult your user manual to exit Demo Mode. On many units, holding down the Clear/Off or Clock button for 3 to 5 seconds will toggle it off.
2. Inspect the Door Latch Assembly
A microwave will only generate heat if the door is sealed tight and all safety switches are fully engaged. If the plastic door hooks (latches) are slightly misaligned, cracked, or worn down, the door might look closed enough for the interior light and timer to work, but not closed enough to signal the heating circuit to turn on.
Technician Insight: I once spent an hour on a service call for an Over-the-Range microwave that wouldn’t heat, only to discover a thin layer of hardened grease and food debris jammed inside the latch keyholes. It was preventing the door hooks from pressing the internal microswitches all the way down. A quick cleanup with a warm cloth completely solved the problem.
Phase 2: The Most Common Hardware Failures (Low-to-Medium Risk)
If settings and visual inspections check out, the issue almost certainly lies within the internal safety switches or thermal cutoffs.
[Door Closed Properly] ---> [Interlock Switches Engage] ---> [Circuit Closes] ---> [Heat Generated]
1. Failed Door Interlock Switches (The #1 Cause)
Behind the front frame of your microwave sit 2 to 4 small microswitches called Door Interlock Switches. Their job is simple: instantly shut off the heating element if the door opens so microwave radiation cannot escape.
- Why it fails: Over time, the internal contacts of these switches wear out, burn, or weld shut from constant arcing. If just one switch in the primary/secondary series fails, the control board will let the fan turn on and the timer count down, but it will block power from reaching the high-voltage transformer.
- How pros diagnose it: Unplugging the unit, removing the wire leads from the switch, and using a multimeter to test for continuity while pressing the switch button.
2. Blown Thermal Fuse or Cutoff Switch
Microwaves rely on thermal cutoffs (thermostats) installed near the magnetron and inside the exhaust duct to prevent overheating. If the exhaust vents get blocked or the cooling fan fails during a long cook cycle, the thermal fuse will blow to prevent a kitchen fire. Once tripped, it breaks the circuit supplying power to the high-voltage system.
Phase 3: High-Voltage Component Failures (Professional-Level Issues)
If all door switches and thermal fuses pass continuity testing, the failure sits within the high-voltage heating loop itself.
- High-Voltage Diode: The diode works alongside the capacitor to double the voltage supplied to the magnetron. When a diode shorts out, the microwave will often emit a noticeable humming noise when you press Start, but the food will remain stone-cold.
- The Magnetron: This is the core vacuum tube responsible for generating the high-frequency radio waves that heat the water molecules in your food. When a magnetron fails due to age or internal burnout, it often produces a deep buzzing sound or a mild burning smell.
- High-Voltage Transformer: This component steps up your standard household 120V power to thousands of volts. While transformers rarely fail compared to switches or diodes, a shorted transformer will completely kill the heating function.
Diagnostic Quick-Reference Matrix
| What You Experience | Most Likely Cause | Best Action Step |
| Timer counts down, fan & light run, zero heat | Blown Door Interlock Switch | Test switches for continuity; replace faulty switch. |
| Loud humming/buzzing sound upon pressing Start | Shorted High-Voltage Diode or Magnetron | Unplug unit; call an appliance repair professional. |
| Works intermittently (heats sometimes, fails others) | Worn plastic door latches or thermal switch | Inspect door hooks for wear; clear vent blockages. |
| Display counts down extremely fast / says “DEMO” | Demo Mode activated | Hold Stop/Clear for 5 seconds to reset settings. |
Repair vs. Replace: Making the Smart Choice
When deciding whether to fix a broken microwave or head to your local big-box retailer for a new one, consider the 50% Rule: If the repair cost exceeds 50% of the price of a brand-new unit, replacement is usually the smarter financial move.
- Countertop Microwaves: Standard countertop units typically range from $80 to $200. Because replacement components plus labor costs can easily top $100, replacing a malfunctioning countertop model is generally more economical unless it’s a simple $10 DIY door switch repair.
- Over-the-Range (OTR) & Built-In Models: These units often cost anywhere from $300 to over $1,000, not including the hassle of unmounting exhaust ductwork. Fixing a door switch or thermal fuse on an OTR model is almost always worth the effort and investment.
- Appliance Age: The typical lifespan of a microwave is 7 to 10 years. If your unit is pushing 8+ years old, magnetron efficiency has likely degraded anyway, making a full replacement the best long-term option.
Frequently Asked Questions (FAQs)
Q: Is it safe to run a microwave empty to test if it’s heating?
A: No, never run a microwave empty. Without food or liquid to absorb the microwave energy, the waves reflect directly back into the magnetron tube, which can destroy it in seconds. Always place a microwave-safe cup filled with water inside for testing.
Q: How much does it cost to replace a microwave door switch?
A: The microswitches themselves are very inexpensive—usually between $5 and $15 each. If you hire a professional technician, labor and service call fees typically bring the total repair bill to around $100–$180.
Q: Why does my microwave keep blowing the door switch?
A: This usually happens if the door hinges are loose or if users habitually slam the door shut. Slamming the door causes the plastic latch fingers to strike the microswitches unevenly, leading to premature mechanical wear or electrical arcing.
4 thoughts on “Why Is My Microwave Not Working But Has Power? (Expert Troubleshooting Guide)”
Comments are closed.