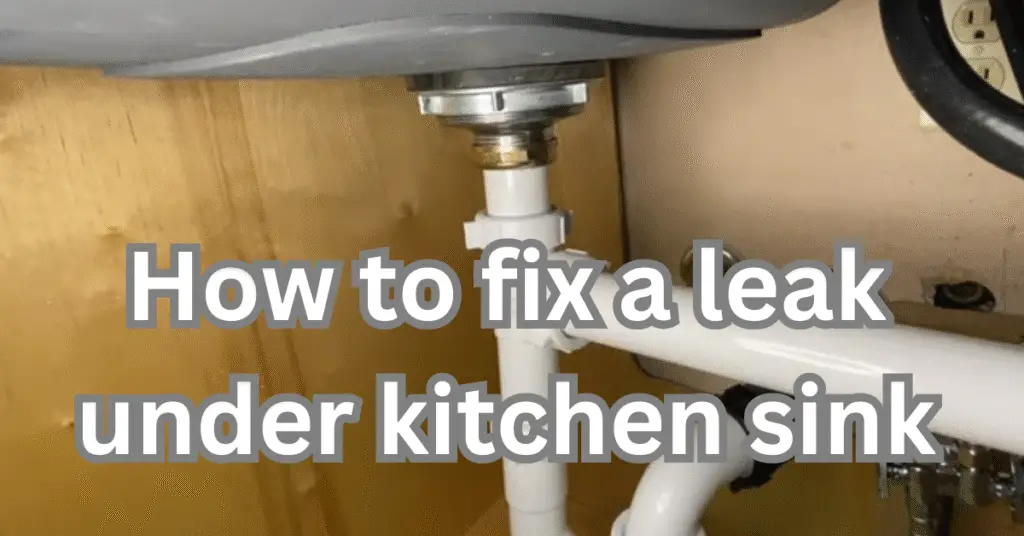
So, you opened the cabinet under your sink and—uh oh—found a puddle. Yep, I have been there. It’s one of those “oh no” moments that hit between making coffee and rushing out the door. But here’s the good news: fixing a kitchen sink leak is way less scary than it sounds.
Let me walk you through it, like you’re my buddy standing next to me with a flashlight and a confused look on your face.
Step 1: Stay Calm, Grab a Towel
First things first—don’t panic. Most leaks under the sink are caused by loose connections or worn-out parts. Nothing you can’t handle. Toss a towel down to soak up the water and give everything a good wipe so you can spot where it’s dripping from. Pro tip: lay a paper towel or dry cloth under the pipes. If it gets wet again, you’ll know where the leak starts.
Step 2: Turn Off the Water (Trust Me)
Before touching anything, shut off the water valves. You’ll usually find two knobs under the sink—one for hot, one for cold. Turn them to the right (righty-tighty) to stop the flow. This step is key unless you enjoy surprise showers under the cabinet.
Step 3: Look for the Leak Like a Detective
Now the fun part: detective mode. Check these usual suspects:
- The P-trap (that U-shaped pipe) – Did it get loose?
- Water supply lines – Those braided hoses sometimes drip at the connection points.
- Sink drain – If you see water at the bottom of the sink bowl, the drain seal might be bad.
- The faucet base – Water puddling around the faucet could be sneaking down.
Touch around gently with your fingers—no need to wrestle anything yet. Feel for moisture.
Step 4: Grab a Bucket and Unscrew Some Stuff
Place a small bucket or even a big Tupperware under the pipes. Now, unscrew the P-trap by hand (yep, just twist). You might get a splash of gross water—brace yourself. I’ve made the mistake of skipping the bucket once. Never again.
If you spot worn-out rubber washers or old plumber’s putty, congrats! You found your culprit.
Step 5: Clean, Seal, Rebuild
Take everything apart carefully. Clean the drain opening, grab some fresh plumber’s putty (think Play-Doh for adults), and roll it into a rope. Press it under the drain flange. Then stack your washers—friction washer first, then rubber—and tighten the nut from below.
Too much putty squeezing out? Good. That means you sealed it well. Just wipe the extra away.
Step 6: Reconnect Everything Like a Puzzle
Now, just reverse the steps. Reconnect your drain parts and make sure everything feels snug, not overly tight. Use your hands for most of it, and a wrench only if needed.
Step 7: Moment of Truth—Turn the Water Back On
Slowly turn the valves back on. Watch everything like a hawk. No drips? No leaks? You’re a legend. If you want to be extra cautious, check back in a day or two. I like to leave a dry paper towel under the pipes as a leak detector.
Fixing a sink leak isn’t just about plumbing—it’s about that small win that makes you feel like a boss in your own home. And hey, next time your cousin calls because her sink’s leaking? You’ll know exactly what to do.
Related articles

